
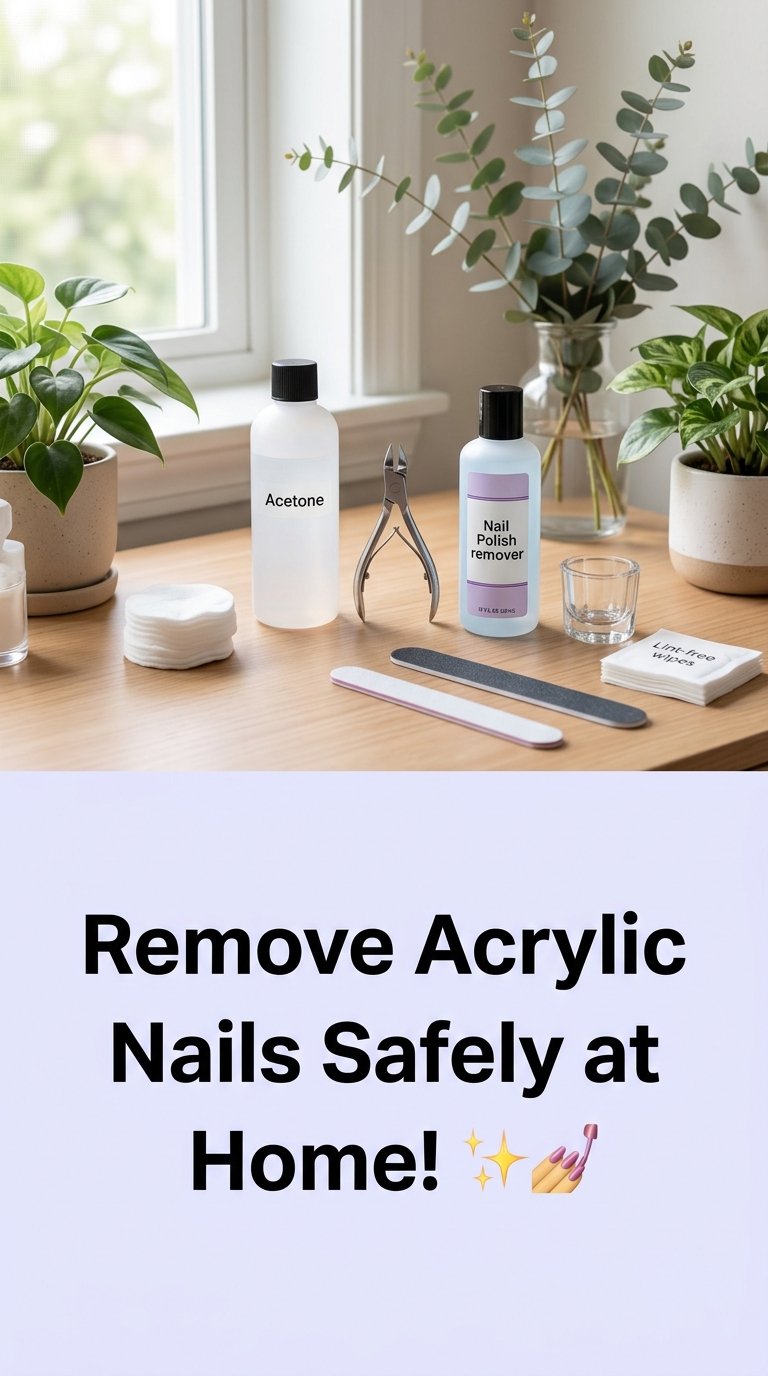
Save yourself that expensive trip to the salon by safely removing acrylic nails at home.
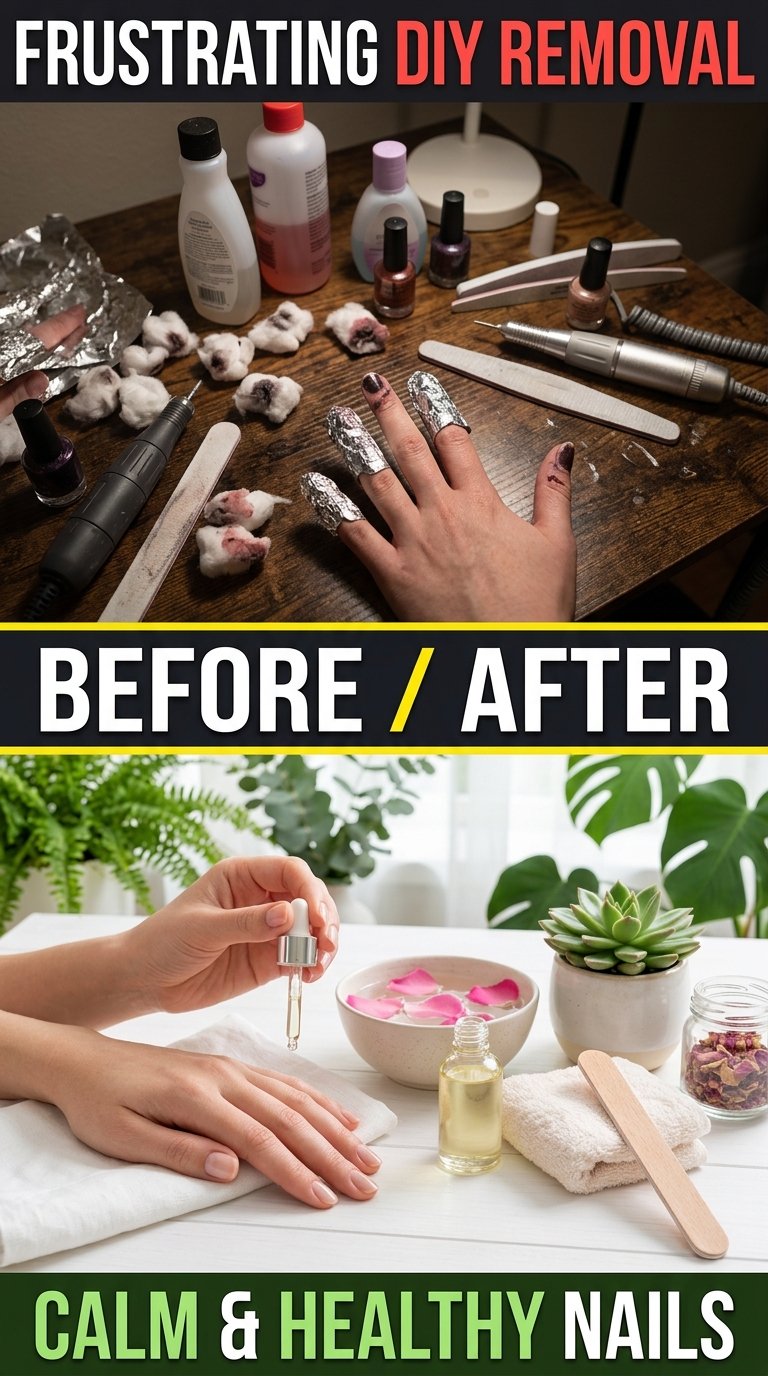
While applying acrylic nails is an easy way to glamorize your look by adding length to your nails, removing them can be quite cumbersome. However, knowing how to remove acrylic nails can make the whole process less painful. Ideally, we suggest getting it done by professionals at a nail salon, but if time and money are constraints for you, there are a few easy steps on how to get acrylic nails off at home, too. In this article, we show you how to safely remove nail extensions at home. Keep scrolling!
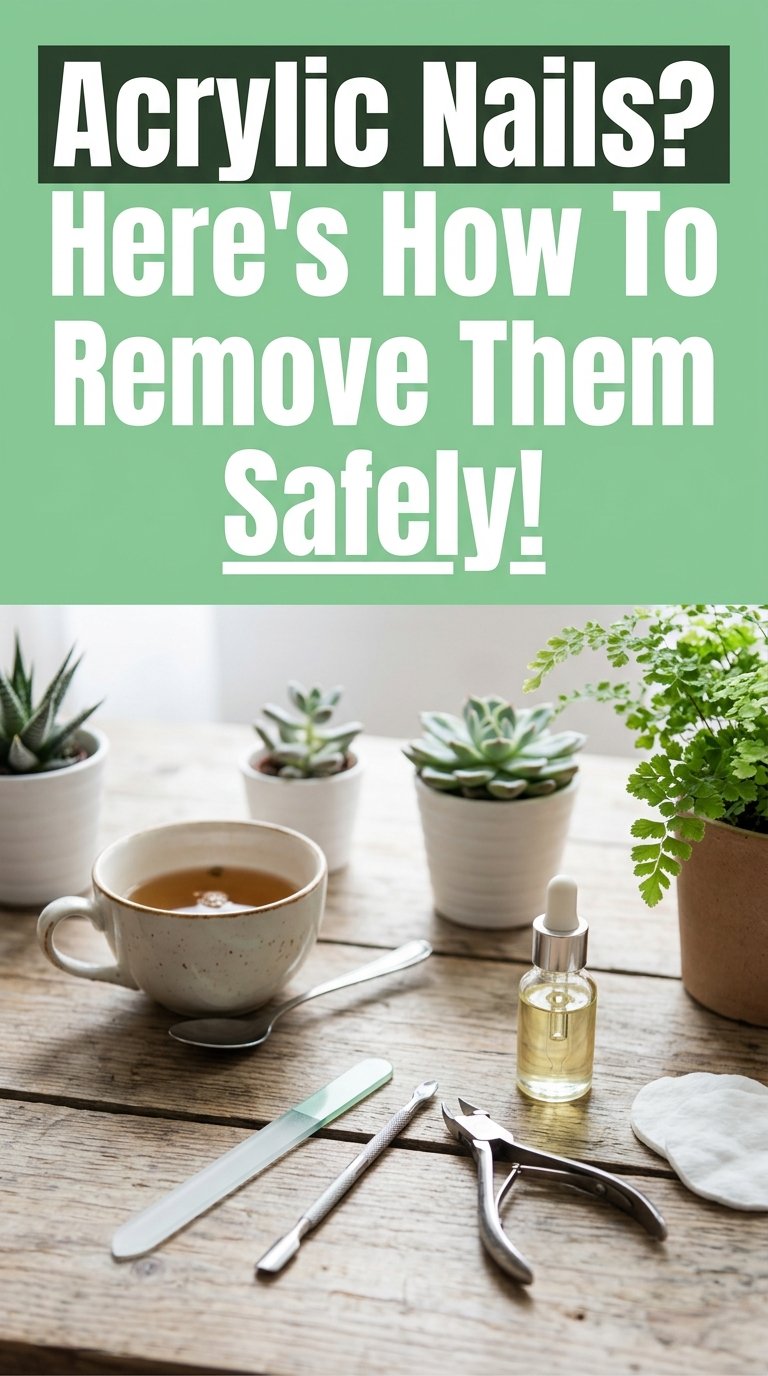
Essential Tools For Removing Acrylic Nails At Home
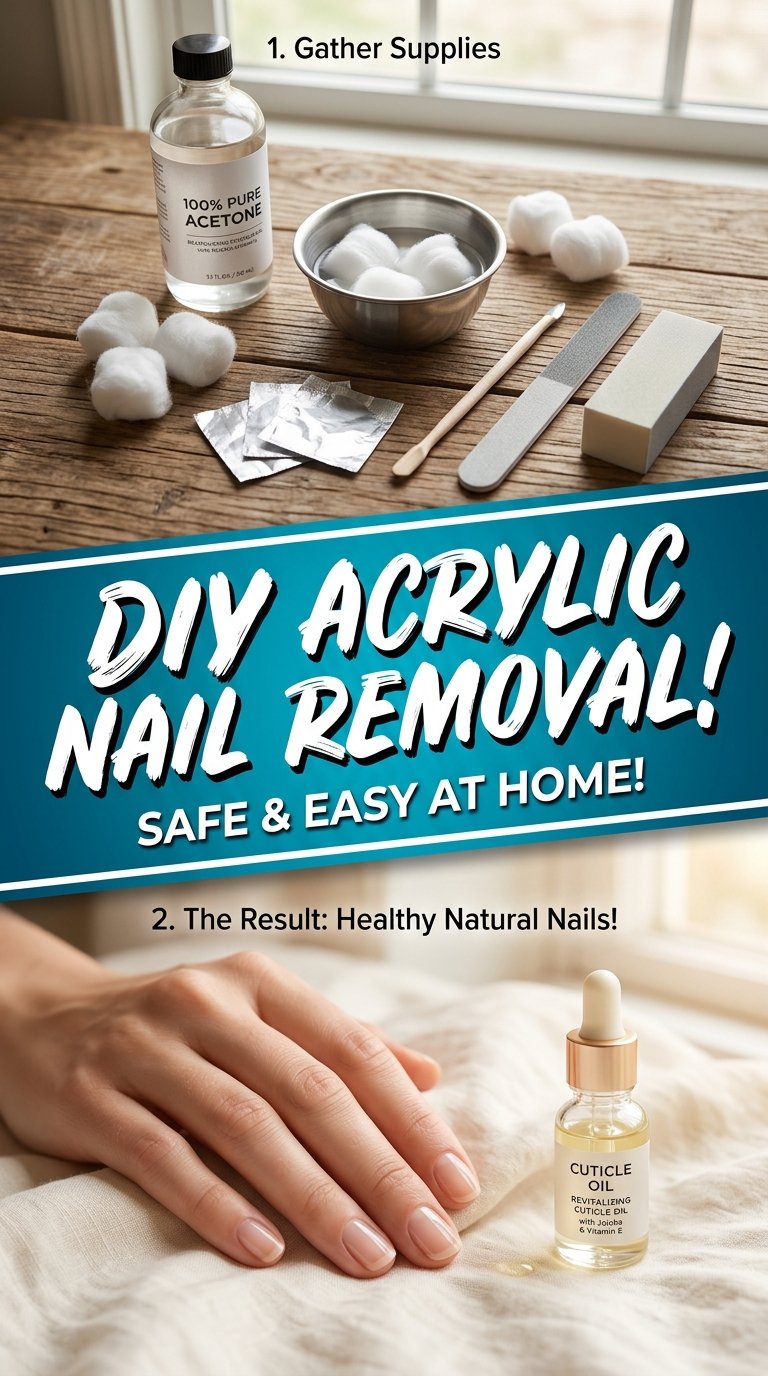
Removing acrylic nails at home can be done safely with the right tools and patience. Here are the essential tools you will need:
- Nail Clippers: To trim the nails for a faster removal process.
- Nail File: To buff the surface and break the seal of the acrylic.
- Acetone: Use 100% acetone for the best results.
- Cotton Balls: To soak the acetone and place it on your nails to break down the acrylic.
- Aluminum Foil: To wrap and secure the cotton in place, helping the acetone stay in contact with the acrylic, speeding up the removal process.
- Cuticle Pusher: To gently push off the softened acrylic without damaging your natural nails.
- Nail Buffer: To smooth the surface of your natural nails.
- Cuticle Oil: To restore moisture in the nail area after the drying removal process.
- Moisturizing Hand Cream: To hydrate and soothe the skin around your nails.
With these tools in hand, you are ready to safely remove acrylic nails at home without causing damage to your natural nails. Assess the health of your natural nails before removing acrylics—if they feel too brittle or the acrylic isn’t coming off easily, seek professional help.
How To Remove Acrylic Nails Safely At Home
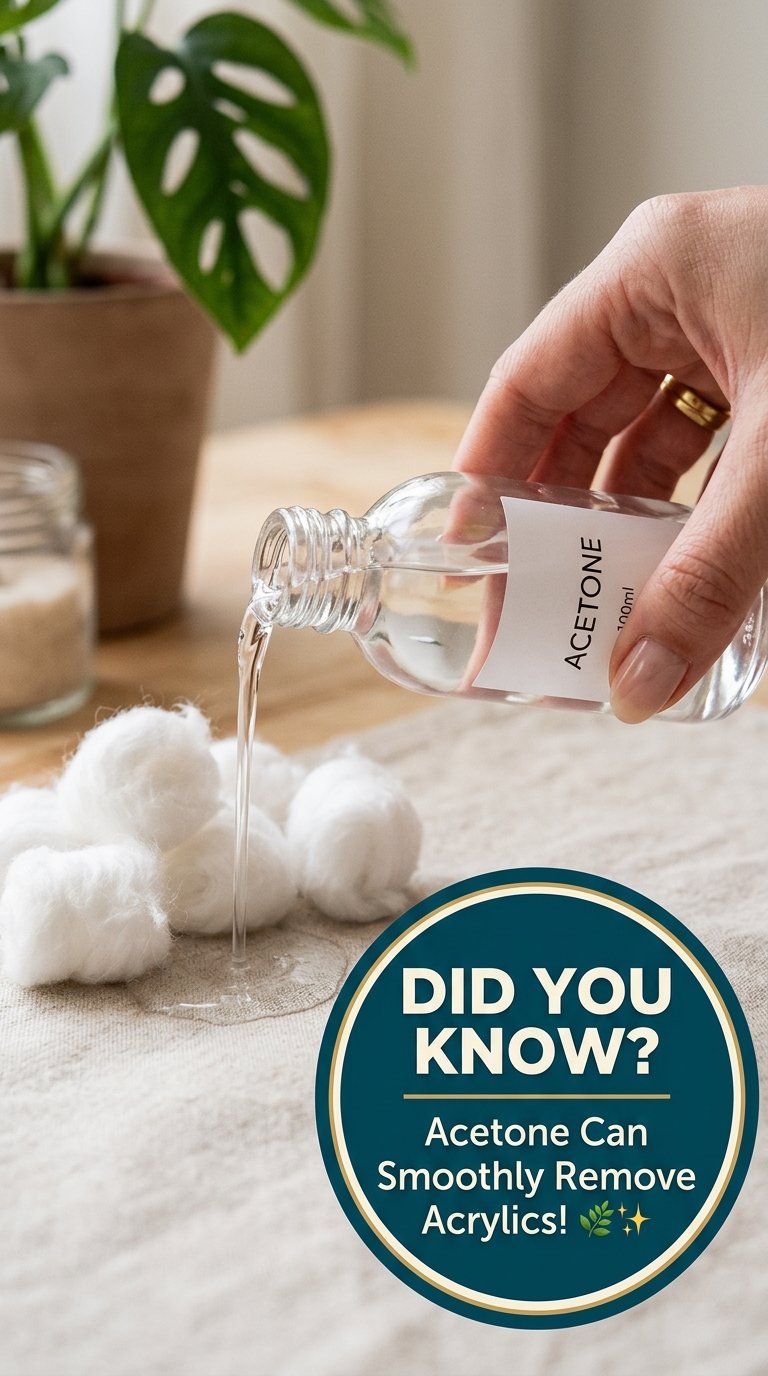
Acetone is your best savior when it comes to removing acrylic nails at home. While using it, ensure you:
- Use it in a well-ventilated space to avoid inhaling strong fumes.
- Avoid direct skin contact, as it can be drying and irritating.
- Soak nails in acetone for the shortest time necessary (typically 10 minutes is enough).
- Apply a nourishing oil or cream after acetone treatment to restore moisture.
Step-By-Step Process for Removal with Acetone
- Clip your nails as short as possible.
- Soak cotton balls in acetone and place them on your nails, securing them with aluminum foil.
- Keep them wrapped for about 30-40 minutes.
- Check if the acrylics have softened, then gently pull them off with tweezers.
- If there’s resistance, soak a bit longer; avoid forceful removal.
Advanced Methods for Acrylic Nail Removal
If you prefer not to use acetone, there are other methods involving household items like dental floss or even business cards. Whatever method you choose, make sure to not cause any damage to your nails and skin. If in doubt, seek professional guidance.
How To Care For Your Nails After Removing Acrylics
Once you’ve safely removed your acrylic nails, it’s vital to take care of your natural nails:
- Buff and smooth them gently.
- Use cuticle oil to restore moisture.
- Avoid acrylic nails for three to six months to let your natural nails recover.
Final Note: Smooth out your natural nails can help them regain their strength, and patience is key to recovering your nails’ health after acrylic wear.
Embrace these practices to ensure healthy nails and enjoy the freedom of switching up your nail designs whenever you desire!
Important Disclaimer: This article is for informational purposes only and does not substitute professional medical advice, diagnosis, or treatment.